Getting Started
2 minute readWelcome to Omnibooking! This guide will walk you through the initial setup process to get your booking page ready for clients.
Step 1: Navigate to the Manage Page
- Log in to your account.
- On the left-hand side bar, locate and click on Manage. This will take you to the main settings page for your book.
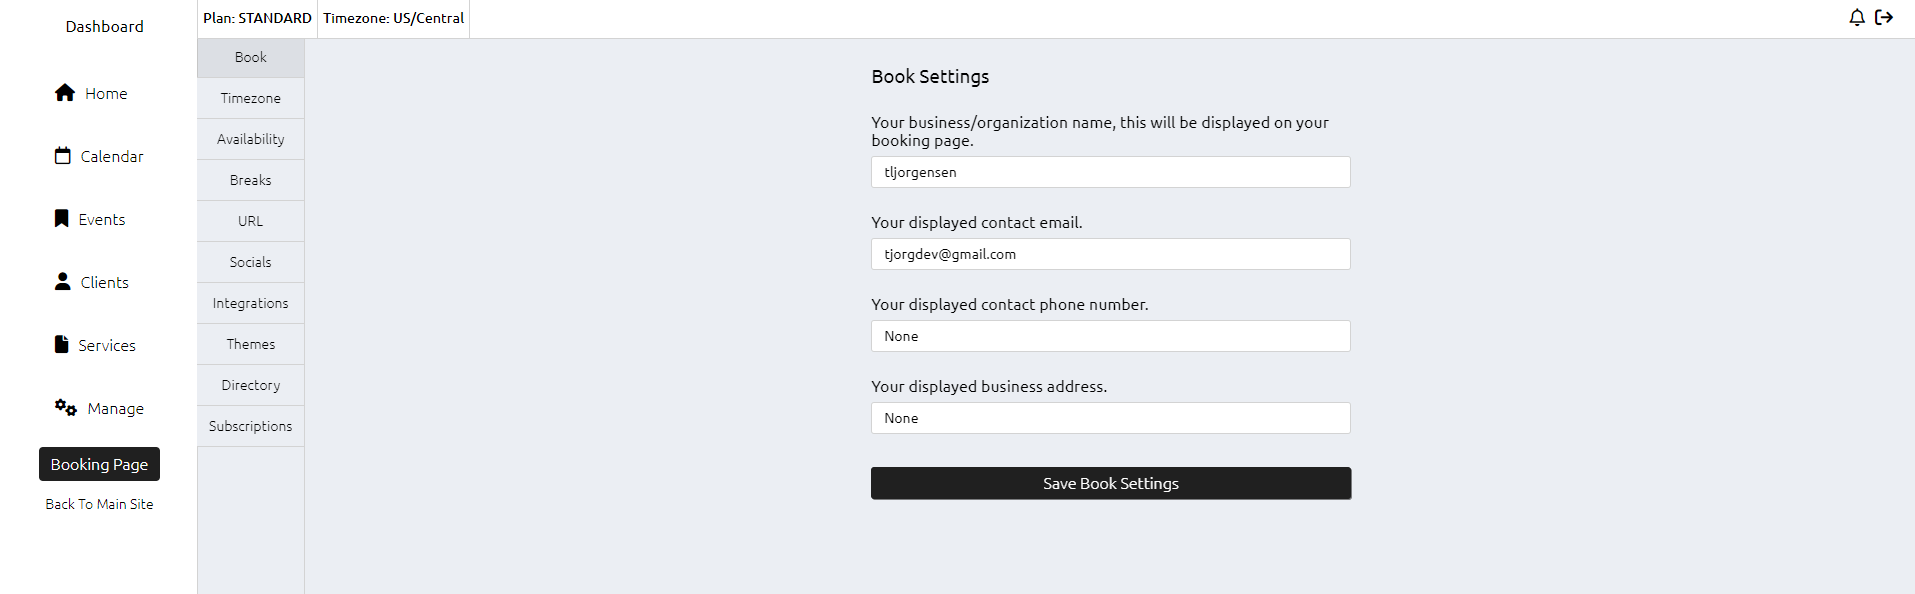
Step 2: Set Your Book Name
- In the Manage page, find the field labeled Book Name.
- Enter the name you want displayed on your booking page. This could be your business name, your name, or a specific title related to the services you offer.
- Set any of the additional fields if you want them displayed, otherwise leave them as 'None'
- Save your changes.
Step 3: Set Your Timezone & Availability
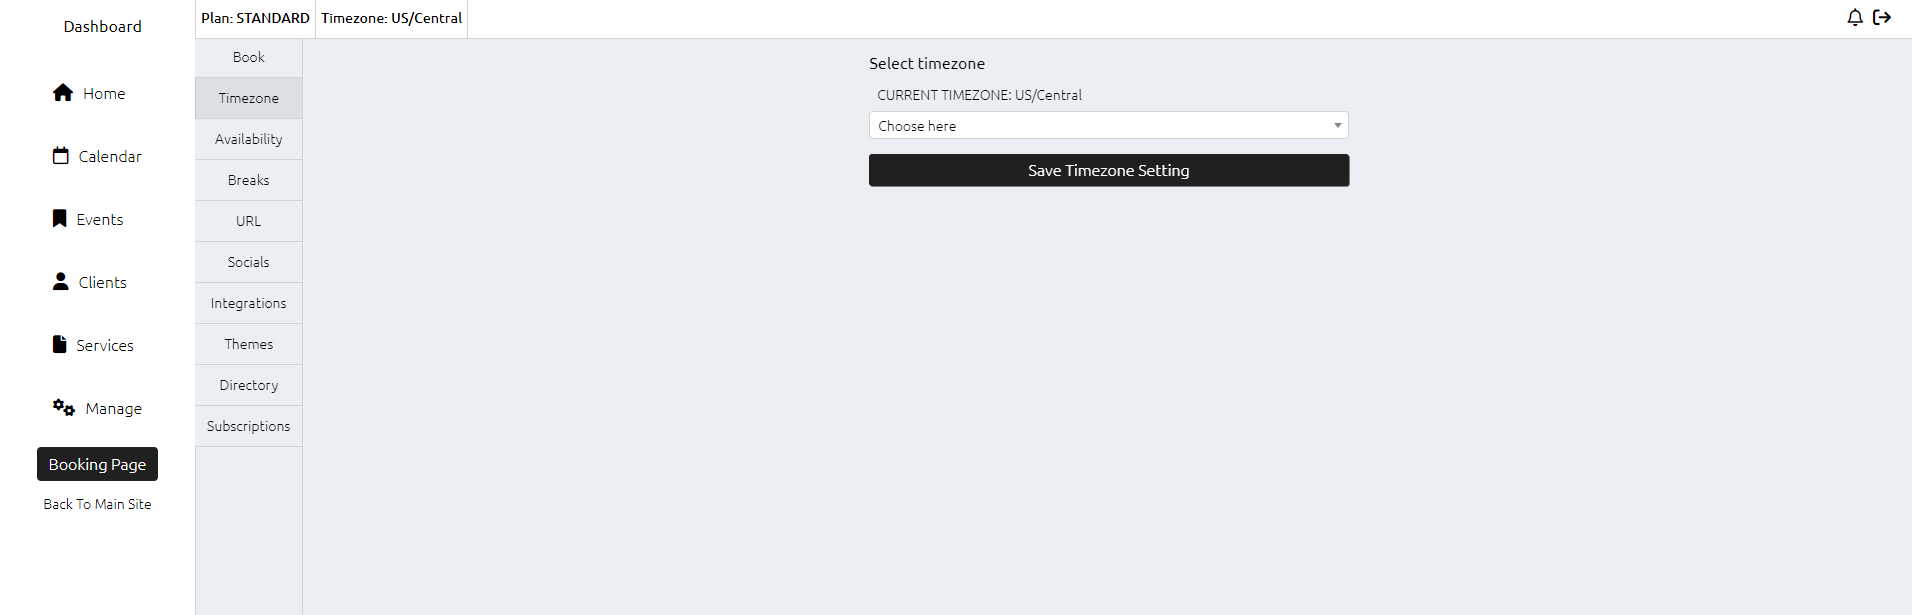
- In the same Manage page, find the field labeled Timezone.
- Select your local timezone from the dropdown menu. This ensures that all times on your dashboard and booking page are displayed correctly.
- Save your changes.
Please ensure you select the proper timezone before taking events. Switching the timezone after events are created will preserve their time relative to what it was created with.
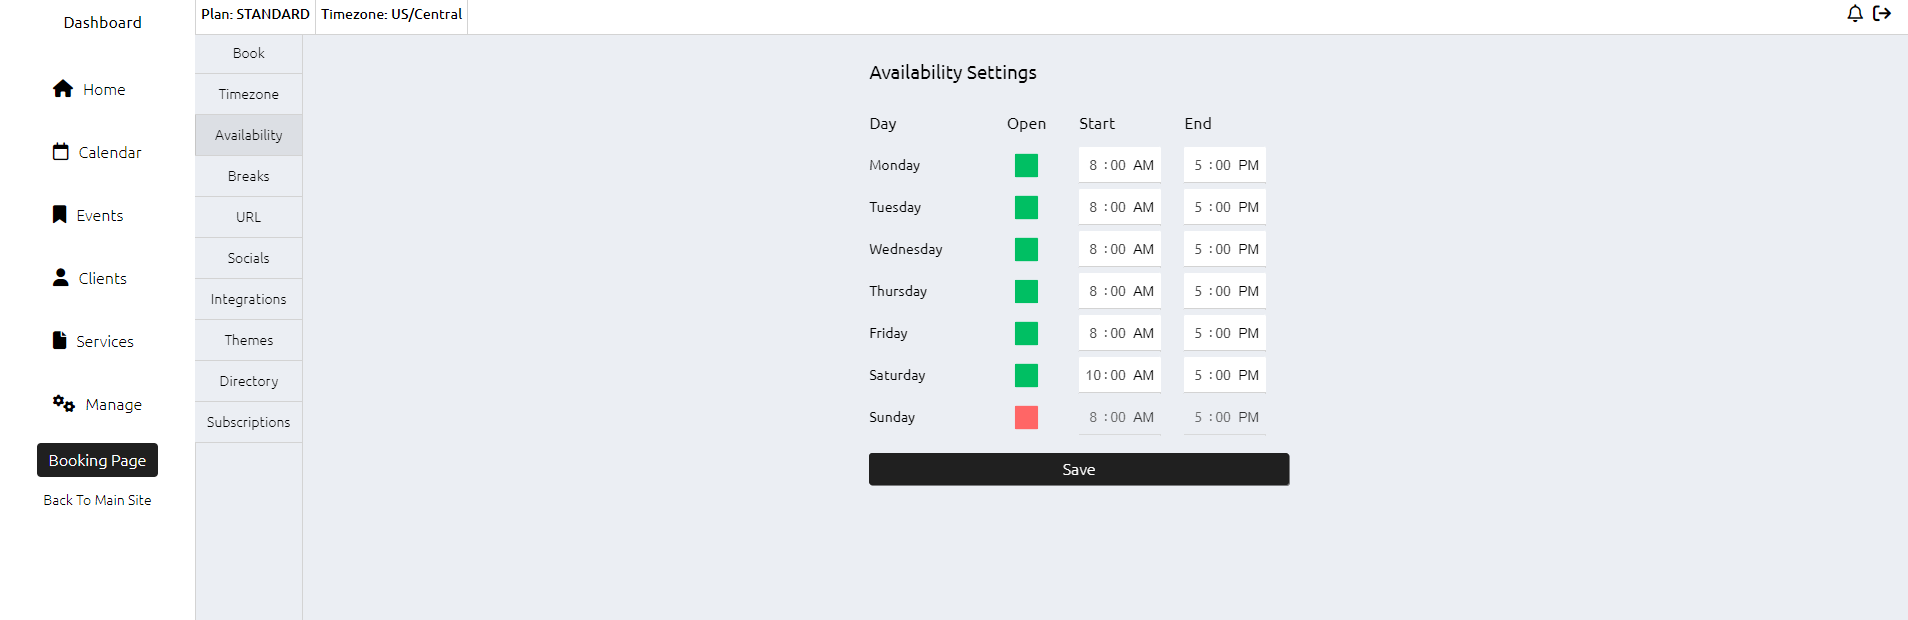
- Now navigate to the Availability tab to set book availability
- Green if the day is open, red if not. Times will be represented in your selected timezone.
Step 4: Create Additional Services
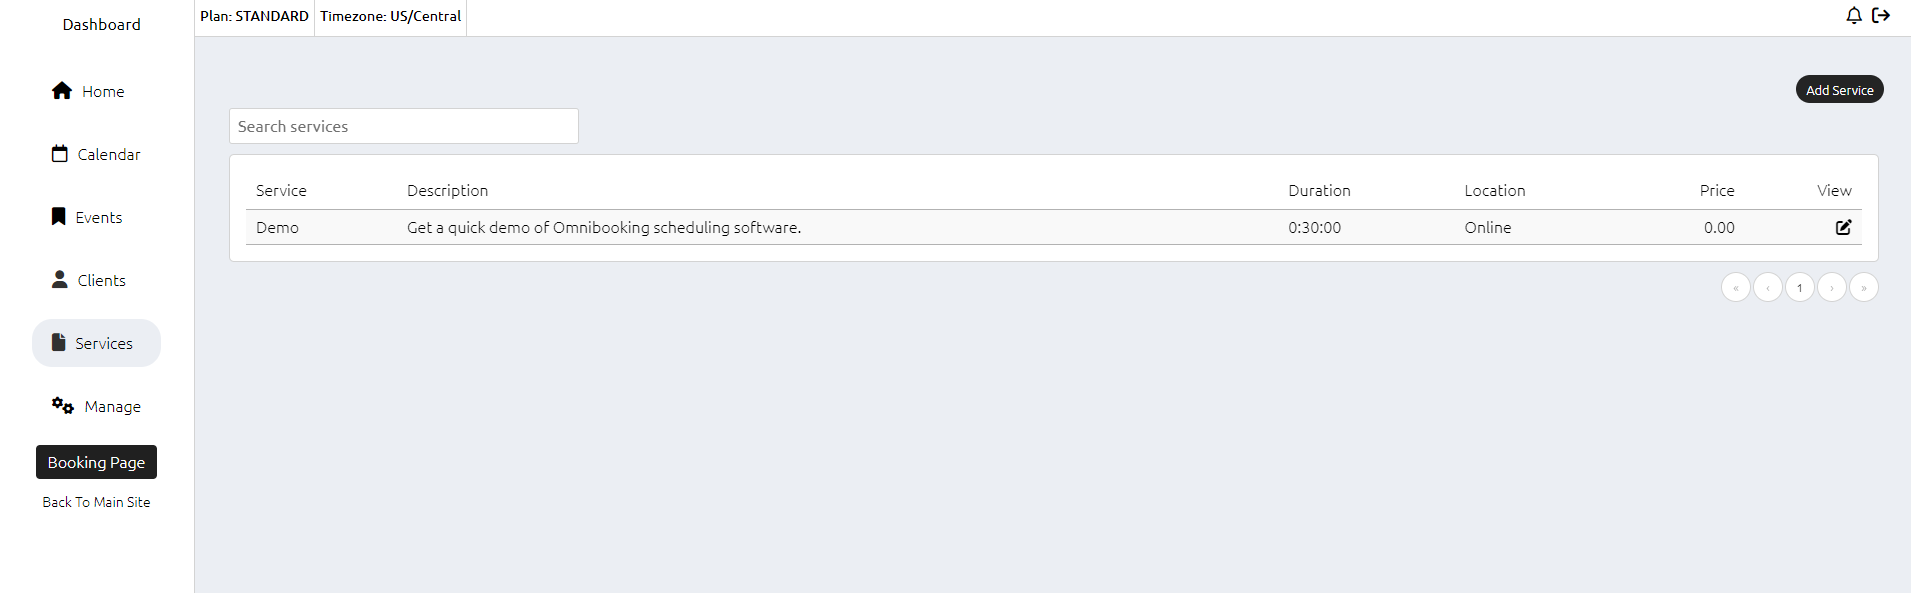
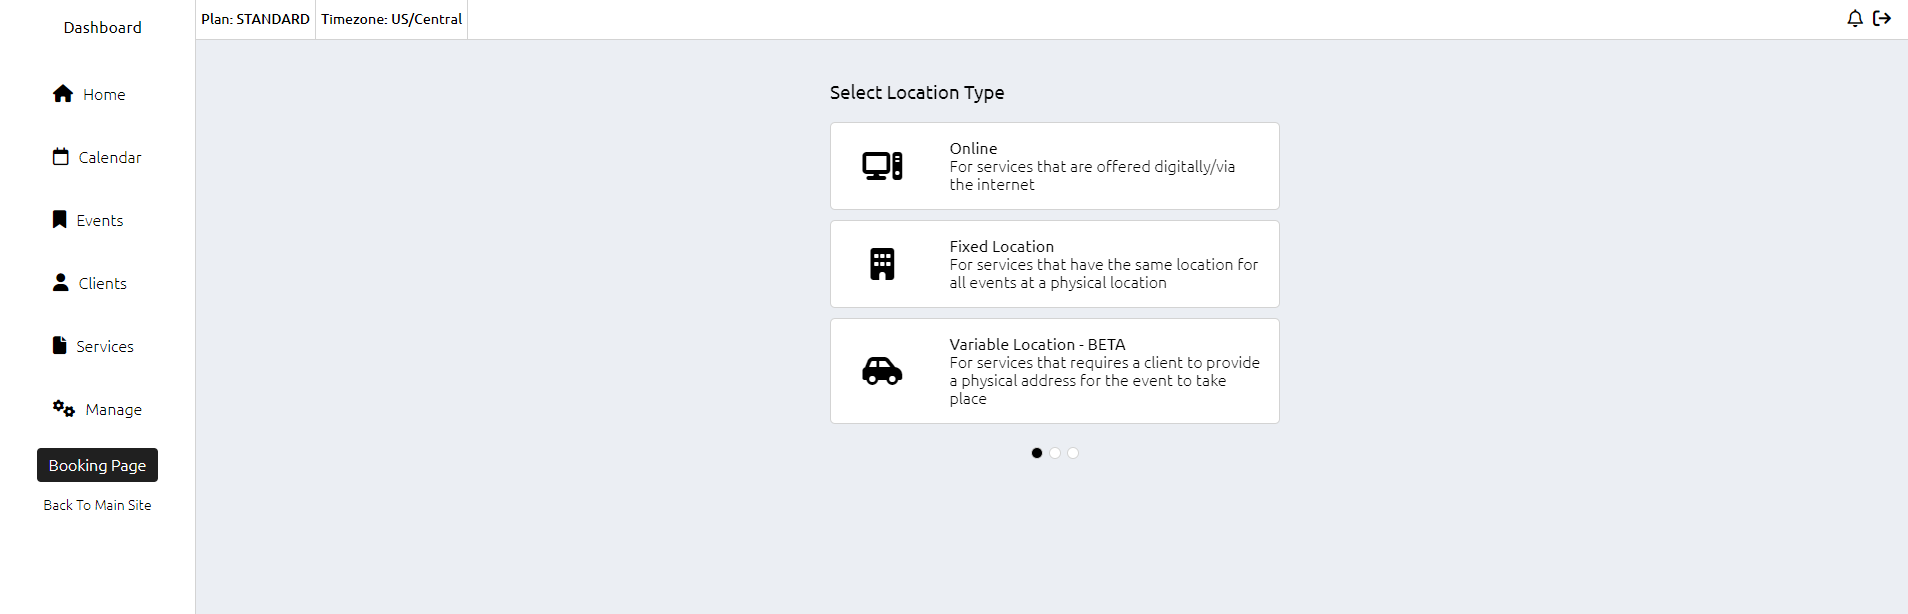
- On the Manage page, look for the section labeled Services.
- To create a new service:
- Click on Add Service.
- Enter the service name, description, duration, and any other relevant details.
- Save your new service.
- Repeat the process to add any other services you want to offer.
Step 5: Navigate to Your Booking Page

- On the left-hand side bar, locate and click on Booking Page. This button will take you directly to your live booking page where clients can view and book your services.
Step 6: Share Your Booking Page Link
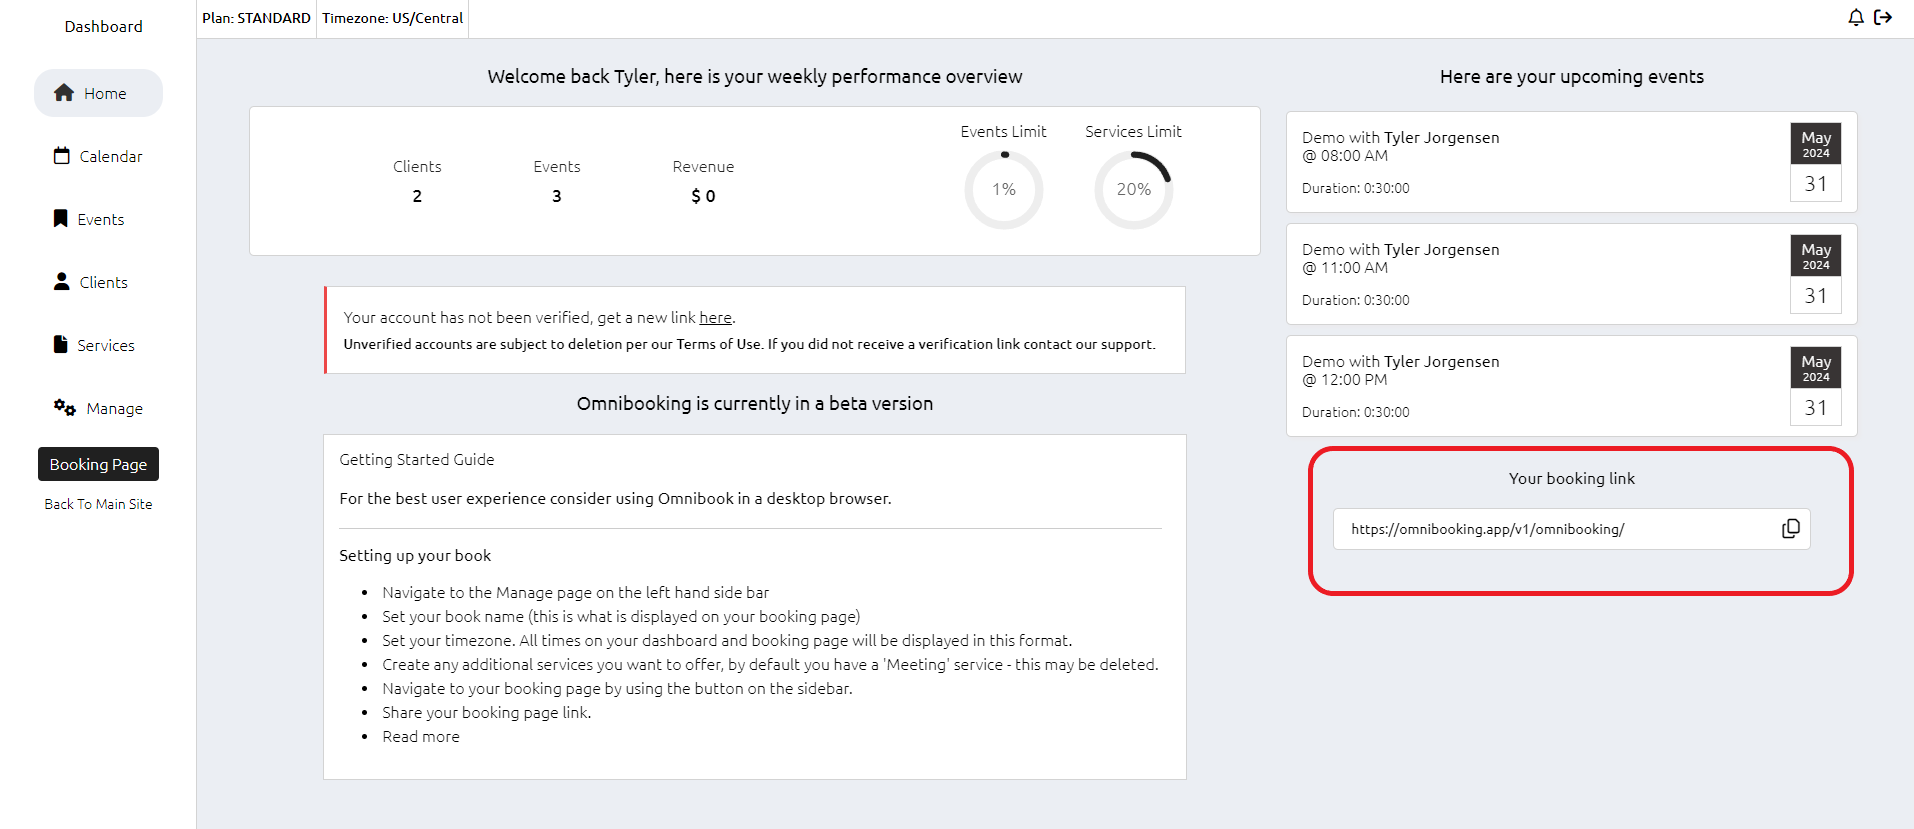
- On your Booking Page, copy the URL from the address bar. Or copy the link from the dashboard.
- Share this link with your clients via email, social media, or your website to allow them to book your services directly.
Congratulations! Your booking page is now set up and ready for clients. You can always return to the Manage page to make any adjustments to your book name, timezone, or services. Thanks for choosing Omnibooking!
Need a booking page for your business?
Sign up to our mailing list to get notified about feature updates, promotions, and other news!