An online booking checklist helps a new service business publish a booking page without missing the details that clients need before they schedule. Before sharing your link, confirm your services, durations, prices, availability, contact details, reminders, payment rules, and test booking flow. A clear setup makes the page easier to trust and easier to use.
Who this checklist is for
This checklist is for service businesses that are setting up online booking for the first time. It fits solo providers, local businesses, and small teams that book appointments, consultations, sessions, estimates, cleanings, repairs, grooming, tutoring, training, beauty services, photography sessions, and other time-based work.
The goal is not to make the page perfect on day one. The goal is to make the first version clear enough that a client can choose a service, pick a time, submit useful details, and understand what happens next.
1. Confirm your booking goal
Before adding settings, decide what the booking page should help clients do. A page that tries to handle every possible request can become confusing. A new service business usually does better with a focused first version.
- Book a standard appointment.
- Request an estimate or consultation.
- Reserve a paid session.
- Collect details before you approve the appointment.
- Move clients from messages, calls, or social DMs into one scheduling flow.
If the service is simple and repeatable, you can often use instant booking. If the job needs review, use a request or approval workflow so clients can submit details without automatically claiming time you may not be able to serve.
2. Prepare your business details
Your booking page should feel connected to a real business. Clients are more likely to book when the page clearly identifies who they are scheduling with and how the appointment will be handled.
Business name
Use the name clients already know from your website, social profiles, business cards, directory listings, or invoices.
Booking URL
Choose a short, recognizable URL. Avoid internal labels, extra punctuation, or names clients would not associate with your business.
Contact details
Add the contact email or phone number clients should use if they have questions before booking.
Logo or brand mark
A simple logo helps clients recognize the page, especially if they open it from a QR code, text message, or social profile.
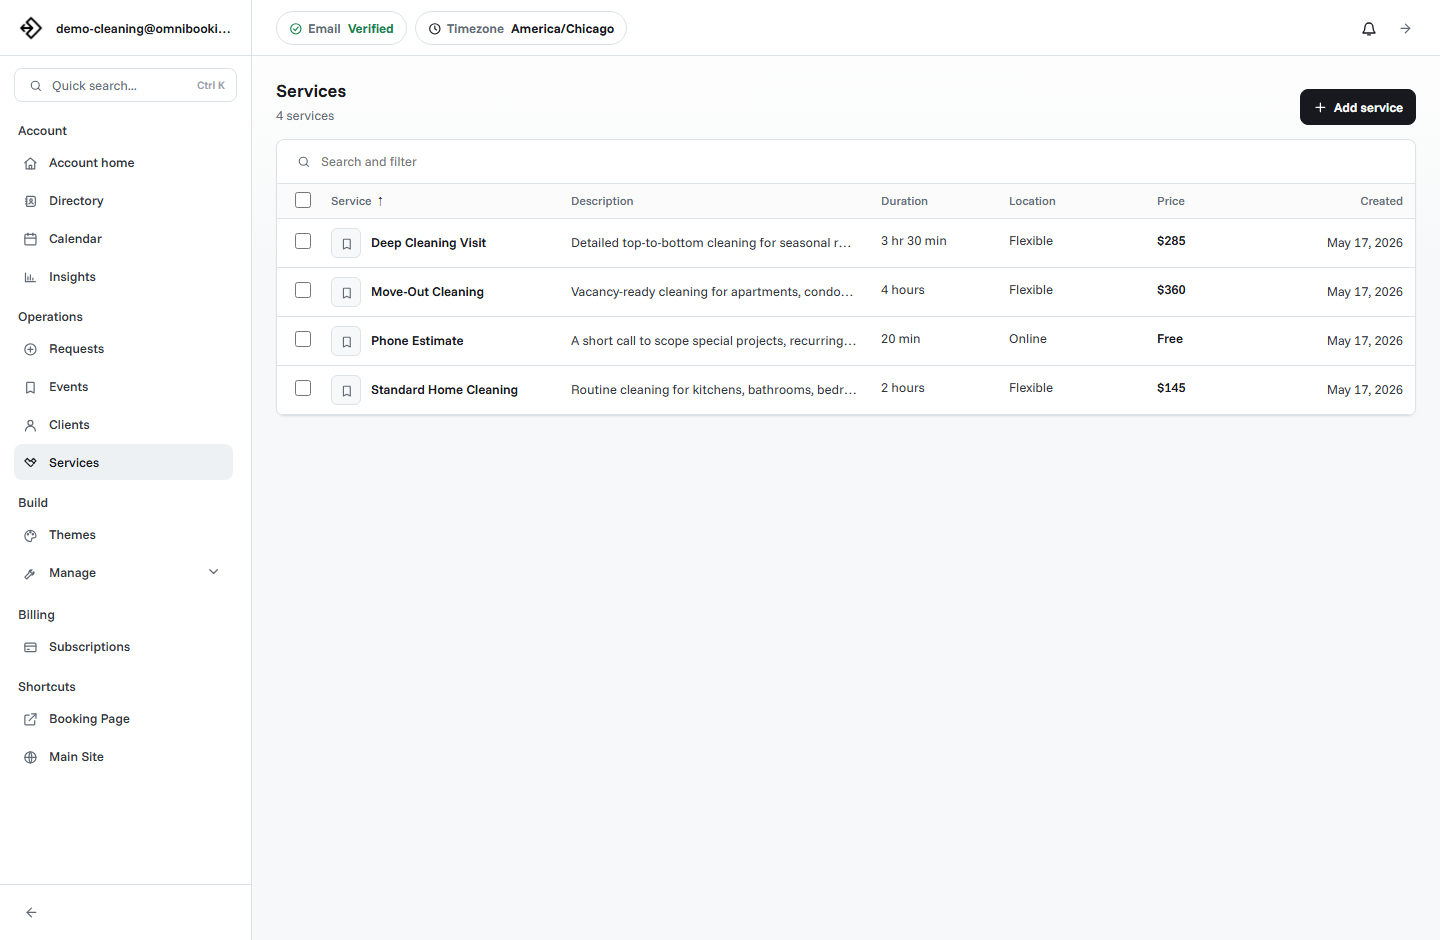
3. Create clear service options
Service setup is the most important part of the booking checklist. If the service list is confusing, clients will hesitate or message you instead of booking.
- Name: Can a new client understand it without asking?
- Description: Does it explain who the service is for and what is included?
- Duration: Is the appointment length realistic?
- Price: Is the price fixed, variable, or hidden until follow-up?
- Location: Is it online, at your location, at the client's location, or flexible?
- Payment: Should the client pay before the booking is confirmed?
Start with a short list. Three to six strong services are usually easier to book than twelve overlapping choices. You can add more once you see how clients use the page.
4. Set realistic availability
Availability is where online booking either helps or creates problems. Only show times you can actually serve. Include breaks, travel time, preparation time, admin time, and days you want to keep closed.
5. Decide how booking approval should work
Some businesses can accept appointments automatically. Others need to review the request first. The right choice depends on service complexity, travel distance, client details, and how predictable your schedule is.
Use instant booking when
The service is repeatable, the duration is predictable, the price is clear, and any available time is truly safe for clients to claim.
Use requests when
The appointment needs review, depends on location, requires a quote, or may need manual confirmation before the time is reserved.
Use payment first when
The service has a fixed price or deposit and the appointment should not be held until the client pays.
6. Configure location and service area details
Location details matter for mobile services, contractors, cleaners, photographers, trainers, pet care providers, and other businesses that travel. Clients should know whether they come to you, meet online, or enter an appointment address.
If you serve a specific area, set the location and radius carefully. A service area helps clients understand whether the appointment is realistic before they submit. If a request is outside your normal area, it may be better to review it manually instead of confirming it automatically.
7. Review reminders and confirmation emails
Booking does not end when the client submits the form. Confirmation and reminder emails reduce uncertainty and help clients remember the appointment.
- The client receives a clear confirmation or request message.
- The message includes the service, date, time, and location when available.
- The business receives enough information to prepare.
- Reminder timing gives clients useful notice before the appointment.
- Pending requests do not create confusion by sounding fully confirmed.
8. Decide whether to use payments
Payments are optional, but they can help when the appointment has a fixed price, deposit, limited availability, or a history of no-shows. A new business does not need to turn on payments for every service immediately.
Use paid booking for services where commitment matters and the price is clear. Use contact-for-price or request-based booking when the final amount depends on scope. If you want to connect payments in Omnibooking, read the Stripe Connect setup guide.
9. Test the page like a client
Testing is the simplest way to catch confusing setup before real clients see it. Open the booking page on your phone, choose a service, pick a time, enter details, and follow the flow all the way through.
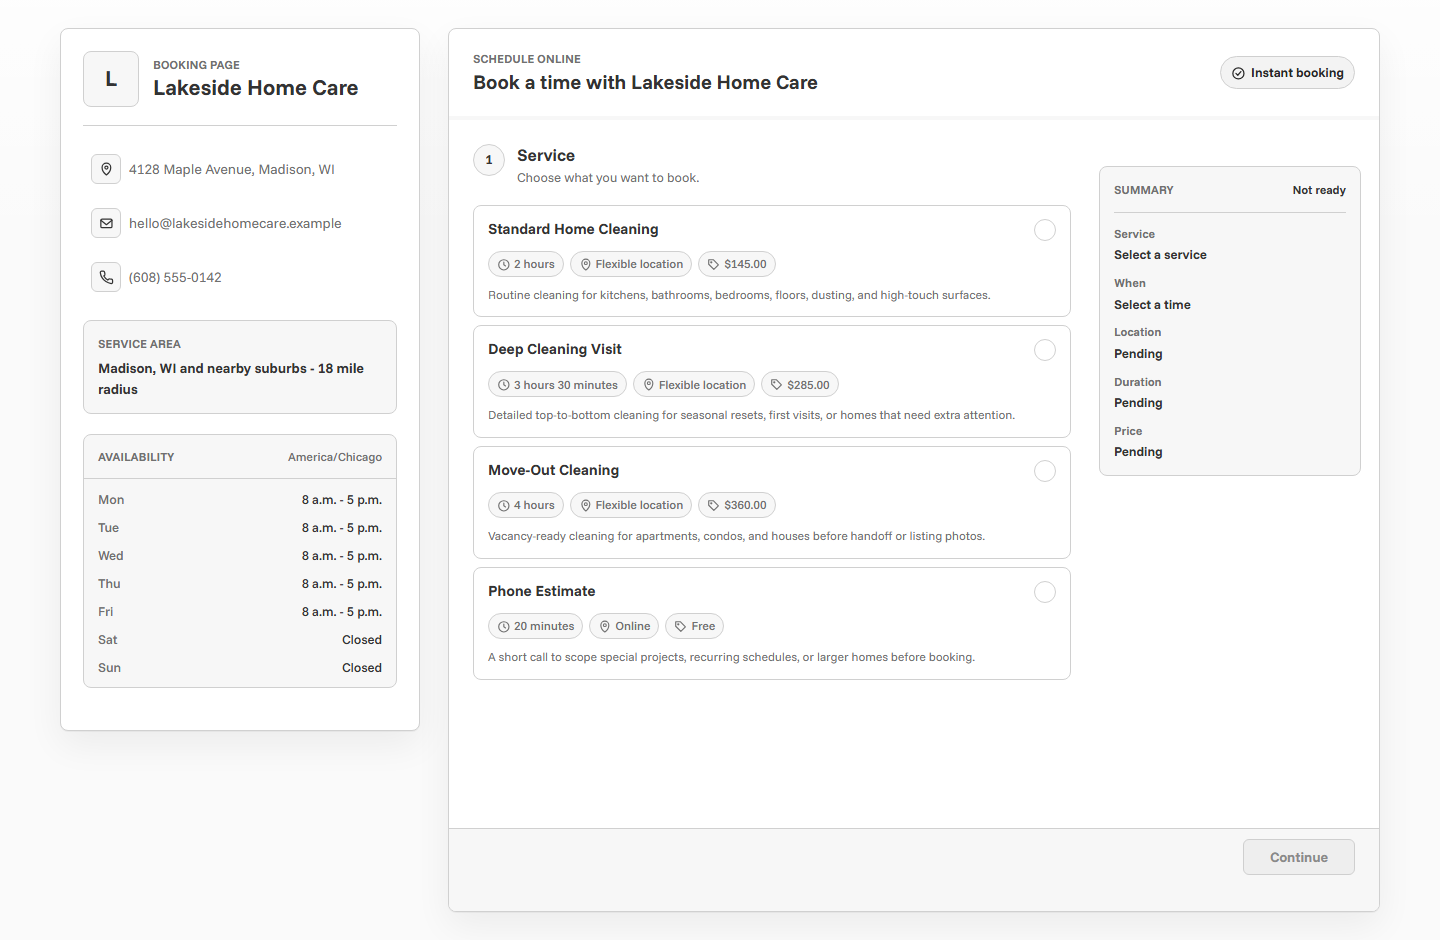
- Open the page from a phone. Most clients will book from a mobile device or a link in a message.
- Choose your most common service. Make sure the name, duration, price, and description make sense.
- Check available times. Confirm that the schedule shows realistic openings and hides closed time.
- Submit a test booking or request. Review what the client sees and what appears in your dashboard.
- Read the email. Make sure the confirmation or request message matches the workflow.
10. Share the booking link in the right places
Once the page is tested, put the link where clients already try to contact you. Do not wait for clients to discover it on their own.
- Website buttons and contact pages.
- Instagram, Facebook, TikTok, LinkedIn, and other social profiles.
- Email signatures.
- Text message templates.
- Directory listings and public profiles.
- QR codes on flyers, cards, signs, or printed material.
- Follow-up messages after a consultation or estimate.
Online booking launch checklist
- Business name and booking URL are recognizable.
- Contact details are accurate.
- Services use client-friendly names.
- Each service has a realistic duration.
- Prices or pricing expectations are clear.
- Location rules match how the service is delivered.
- Availability reflects the schedule you can actually work.
- Breaks, blocked time, and booking delays are configured.
- Approval rules match the risk of each appointment type.
- Payment settings are enabled only where they make sense.
- Confirmation and reminder settings are reviewed.
- A full test booking works from a phone.
- The link is added to the places clients already contact you.
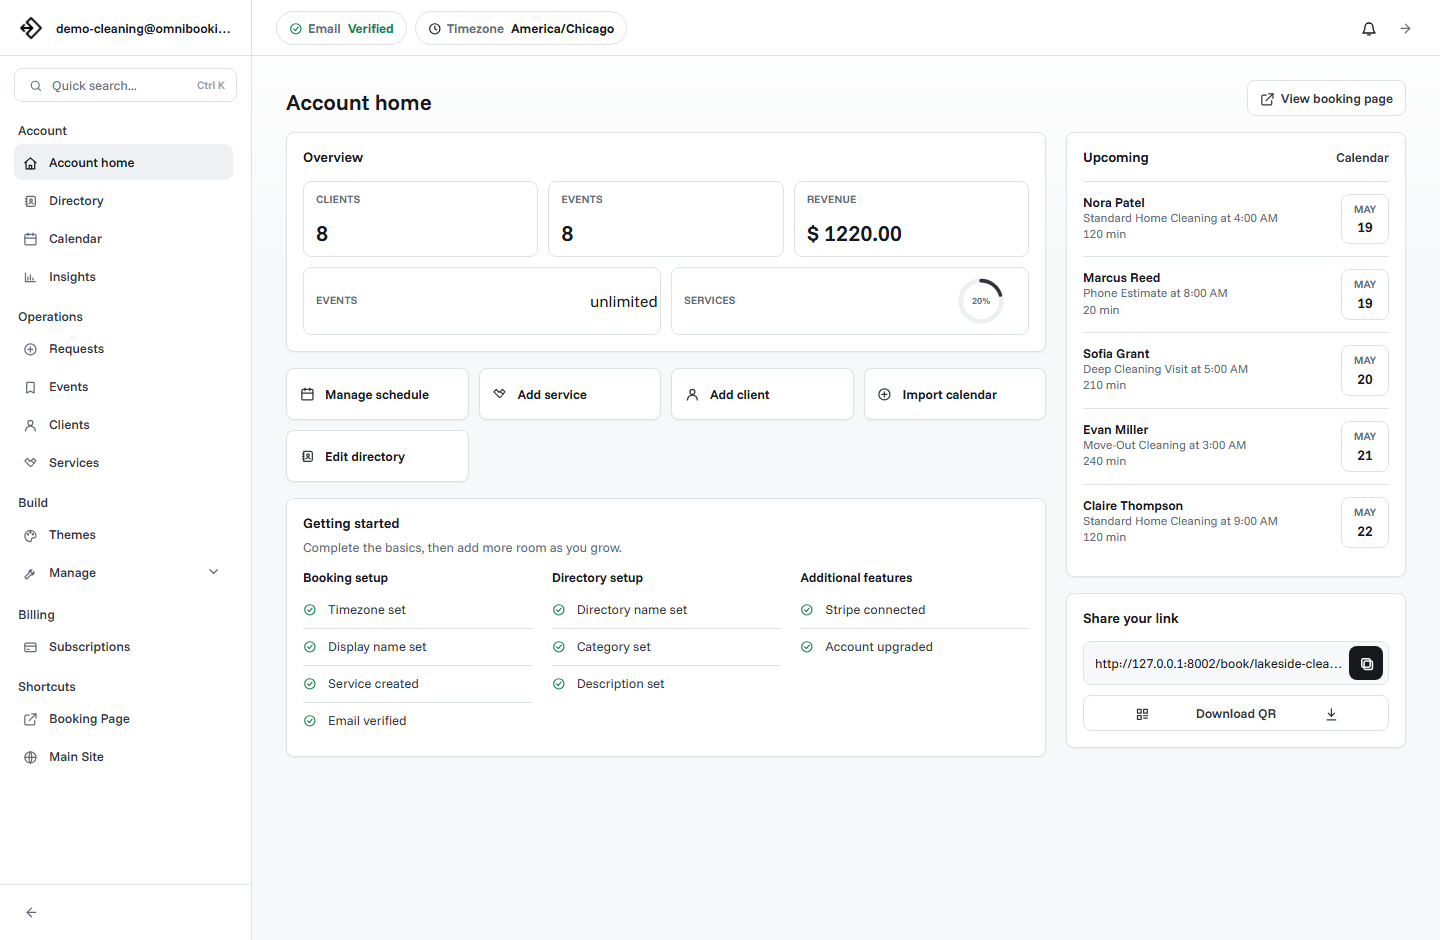
How to use this checklist in Omnibooking
Start with the Getting Started with Omnibooking guide if you have not created your page yet. Then use this checklist to review services, availability, booking settings, reminders, payments, and testing before you share the link widely.
If you are still deciding what the page should include, read How to Create a Booking Page That Actually Gets Used. If you are comparing tools before setup, read Best Online Booking System for Small Service Businesses or review Omnibooking plans.
Related resources
Getting Started With Omnibooking
Create the account and first page before running the launch checklist.
How to Create a Booking Page
Build the client-facing structure the checklist will help you review.
Set Booking Availability
Confirm the schedule is realistic before sharing the booking link.
Reduce No-Shows With Reminders
Review confirmations, reminder timing, and commitment rules before launch.
FAQs
What should I set up before sharing a booking link?
Set up your business details, services, durations, prices, availability, contact collection, confirmation emails, and any payment or approval rules before sharing the link with clients.
How many services should a new booking page include?
Start with the services clients request most often. Three to six clear services are usually enough for a first version, especially if each one has a useful description and realistic duration.
Should I allow same-day booking?
Allow same-day booking only if you can reliably prepare for short-notice appointments. If you need time to review, travel, prepare, or confirm details, use a booking delay.
Do I need payments on my booking page?
You need payments when deposits, upfront fees, or no-show protection matter. If the service price depends on scope, it may be better to collect details first and quote later.
How do I know if my booking page is ready?
Your booking page is ready when a client can open it on a phone, understand the services, choose a realistic time, submit details, and receive a clear next step without extra explanation.